The One Where I Catch You Up On Our Year

Hello dear friend! It has been quite too long! Sometimes you’re in a season of life when it gets too full and something just has to give. This past year, that was our season and unfortunately the blog is what had to give. I know you’ve all been there, so I make no apologies except to say that I’m sorry I didn’t give any warning and that I’ve missed you! This has seriously been a year of dreams coming true. It’s been full of new job opportunities, the exciting yet oh so time consuming process of buying our first house, and of course there was that wedding we were planning. There was barely time to do the eating and sleeping thing let alone pause to document. We want to fill you guys in on what’s been going on around here then we’ll go back and share some of the finer details on the most exciting stuff later! We’ve often joked that I took a year off of blogging to build up enough material to last  for the rest of my life!

So quick recap. Around the time out our last post, I found out that I finally landed a pretty perfect teaching job. This was kind of huge for us. After we moved to Asheville, I starting working part time for a fabulous non-profit called FEAST teaching after-school cooking/nutrition classes at local middle schools twice a week. While incredibly rewarding, two hours a week does not a career make. I needed a full time job. The field of Family and Consumer Sciences is pretty specialized and if you want to teach in public schools there tends to be a very limited number of positions per school. I checked pretty much every day for a year to see if there were any open positions in Asheville or the surrounding counties. There had been nothing and it was pretty disheartening. We had started contemplating moving to Athens, GA, where my best friend lives and where there was a teaching position. I had taken the Praxis to get my teaching certification in other subjects to make myself more marketable. The focus was get a teaching job, any teaching job. While in Ireland with my mom and grandmother, my dad emailed to ask if I was still checking on openings while on holiday because, if not, I should check. There was something on there — a high school position in FACS at a school 15 min from our house! While not perfect since all my experience has been with middle school or younger and high school kind of scared the shit out of me, it was something and beggars certainly weren’t going to be choosers over an age preference. If they would hire me, I’d teach it. Hire me they did, and so began my second, first year of teaching. First year teacher. ‘nough said. Plus I kept teaching my two classes a week for FEAST.

In September we took a little holiday to the south of France for Z’s childhood friend Nick’s wedding to Cecile. Cecile is from Nice hence the beautiful location of said wedding. This had been on the books long before there was even a glimmer of hope at a teaching job, so I was really fortunate that my school worked with me so that I could still be able to go and be a part of their beautiful wedding.

Kiwi and Peach
When we got back we decided that since the final piece of the puzzle, me getting a teaching job, had fallen into place that it was time to start looking for a house. Our lease was up at the end of December and while we had the option to renew it, we were kind of ready to find our forever home. Engaging the help of a realtor, we looked and looked and looked at lots of ugly ducklings before finding the one. Not without it’s flaws, but definitely livable, we bit the bullet and bought a house! We’ll talk more about that process another day, plus we have lots more projects coming up as we make this house on the hill our own.Second semester rolls around, I get a new batch of kiddos and I get to start repeating curriculum (making my life exactly 1 million times easier). We realize that we are getting married in about 6 months and aside from finding a venue, dress, and photographer we haven’t planned anything. So we get down to it. I can’t wait to share some of the more exciting details of the wedding with you guys as well as some awesome DIYs. Our wedding couldn’t have been a more perfect representation of our love and the community we share that love with. Afterwards we set off to explore the rainforests of Costa Rica for a week with NO internet! We got to hike everyday. We went surfing, kayaking, rappelled down a few waterfalls, met lots of monkey friends as well as a baby sloth(!); it was perfect.

And so here we are, back in the real world with a real world amount of stuff to fill up our days. Our plan is to get back into the blogging game slowly and as more of a team than a one woman show. We are eager to share some of the insights we’ve learned over the past year as well a the QUICK recipes that have been working for us on these busy days. Talk soon!

DIY Bedside Table from an old TV tray stand

We’ve been in  Asheville for six months now. Six. Months. Where has the time gone? Wasn’t I just in Germany like yesterday? Didn’t we just move in? Yes and no. These six months have flown and dragged both at the same time. I’m not going to lie, January and February were some pretty terrible months. Reverse culture shock was strong, we hadn’t made the friends we’d expected to, the job situation was bleak, and well, we were just homesick for a place that two years ago neither of us thought would ever be our home. As we emerged from winter though, opportunities sprouted, new friendships blossomed, and we began to explore these mountains and the new town we call ours. I’m not sure when the “I’m new here” wears off, but I can say, with more certainty than ever before, that we like it here and think we’ll hang around for a while. My favorite part of any move is to making the house we are in feel like a home that represents us. Though our current home is temporary, we have been so lucky to get to infuse as much of our personality as possible into the space. I’ll eventually move on to what we’ve done in other rooms, but I want to share one last project from the bedroom! So far we’ve shared how Zane made our bed and how I made a rustic piece of art for our wall. Today let’s chat about bedside tables. Our current bedroom is kind of small with awkward window placement. Our ginormous bed takes up most of the room, so we knew that we were going to have to think small for the bedside table. Small in size and in cost. Our budget for this was low, low, low so we had to get a little creative. In the end, it cost us nothing because we used stuff found in my parents basement and leftovers from the bed. However, even if you had to go buy some of the materials, we’re talking less than 30 bucks here! All measurements are based on the size of our base and the height of our bed. I’m pretty sure both are pretty standard, but if your bed is super high or super low fret not. Just figure out the height you need and then adjust the measurements from there. Our table measures 20 inches long, 14.5 inches wide, and 24 inches high. DIY Bedside Table from Kiwi and Peach Here’s what you’ll need:

  • an old TV tray stand
  • 1 yard of wide upholstery ribbon
  • needle and matching thread
  • offcuts from a 1×8
  • offcuts from a 1×2
  • 8 screws
  • sandpaper
  • stain (We used the same soy based oil stain as the bed, Varathane in Provincial)
  • sealer (We love the Tried and True Wood Finish made from linseed oil and beeswax)

Cut List:

  • from the 1×8 — 20 inch piece × 2
  • from the 1×2 — 10.5 inch piece × 2
  • upholstery ribbon — 25.5 inch piece

Get started by prepping your wood. Sand it well, stain it, and seal it. Allow plenty of time for it to dry and cure between stages. My tip for creating cohesive design when it comes to using lots of wood pieces  in your home is to find a stain you love and roll with it. A note about the stain and finish—a little bit of product goes a long way. We absolutely love these products and have used them on a number of projects around the house like the bed, these tables, a bookcases and a set of shelves. In all of that, we’ve used just over a quart of stain and maybe half a pint of the sealer. Once the wood is finished we can put the pieces together. Place the 1×8s next to each other so that their long edges are touching. Center the 1×2s on the seam. It’s important that the 1×2s fit down in the frame so be sure that they aren’t too far apart. Ours are about 7 inches apart which leaves about 3.5 inches on either side. When you’re happy with the placement, screw them in place.

DIY Bedside Table from Kiwi and Peach DIY Bedside Table from Kiwi and Peach 
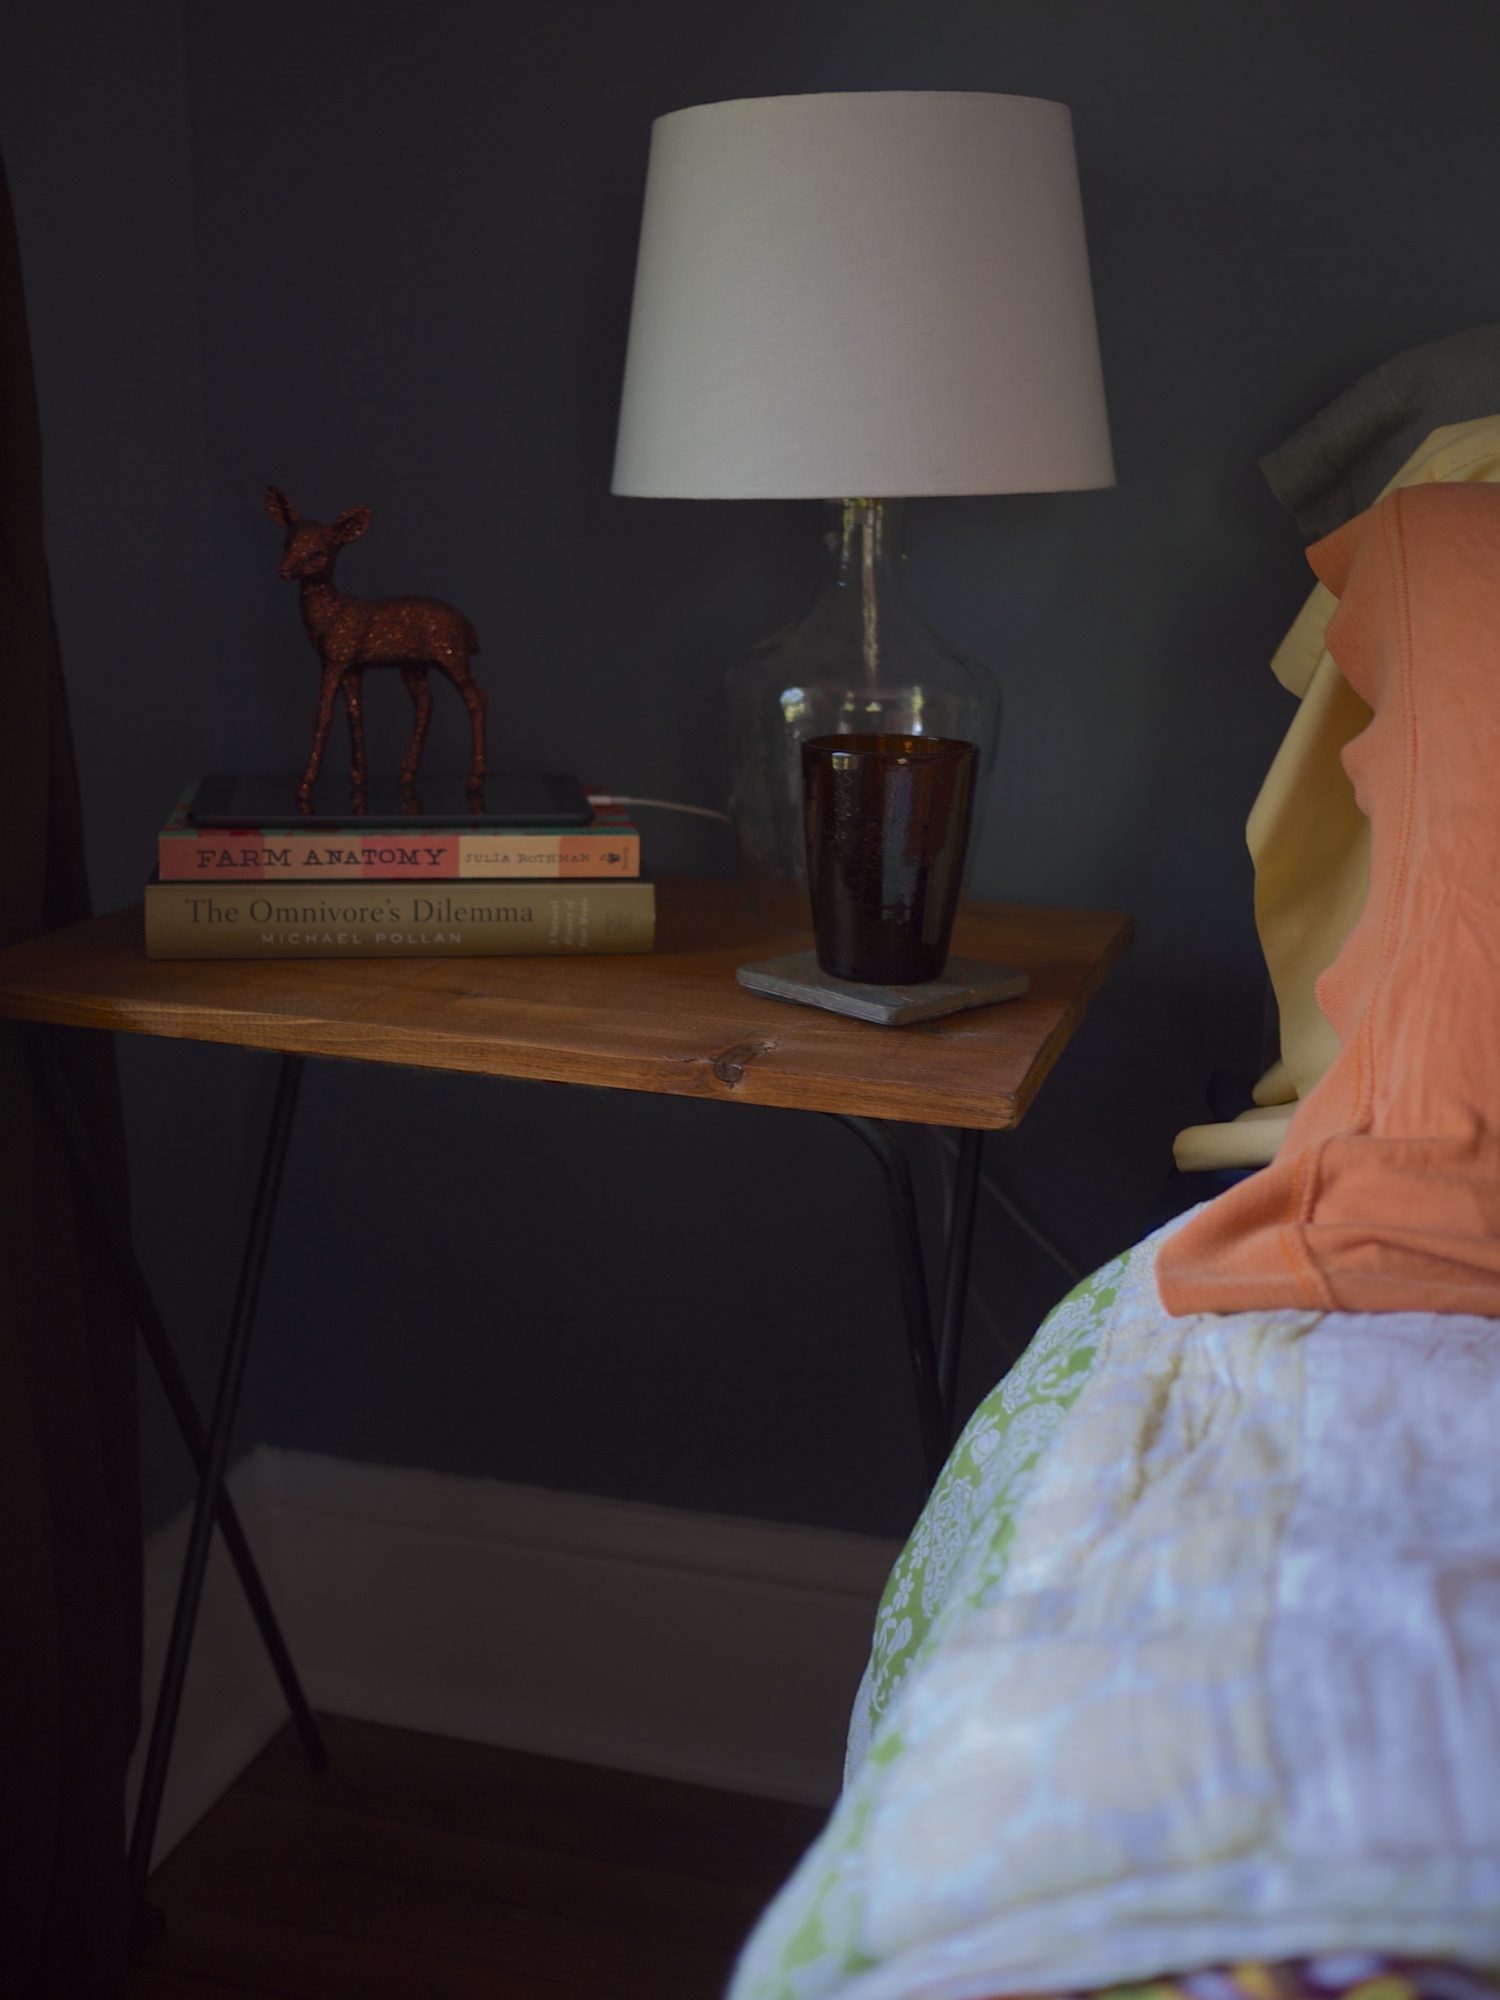
Our TV tray stand was super old and there was nothing to keep it from collapsing when we put the top on it, so we used the upholstery ribbon to keep it at the height we wanted (about 2 ft). Measure and cut your upholstery ribbon then wrap it around the top of the frame overlapping the ends. Using a needle and matching thread, hand sew the overlapping pieces together to make a loop. This will be on the bottom so just do the best you can! Adjust the ribbon so the seam is on the bottom and then sew the two layers of ribbon together on either side of the frame to anchor it. Slide the ribbon to the middle of the frame. DIY Bedside Table from Kiwi and Peach (In the picture you’ll see that I did two of these. Honestly, its structurally unnecessary to have two and I know that no one sees the bottom, but I liked the aesthetic more and I had the extra ribbon so I went with it because I’m crazy like that. One is sufficient.) Sit the top on the base. They should fit snuggly into one another. Turn it right side up and you’re finished! DIY Bedside Table from Kiwi and Peach

Pruning Your Basil

Hello my lovelies! I hope y’all had a wonderful week last week while we were off galavanting about the Southeast! Since we chatted last we’ve had a wonderful engagement party hosted by my sweet, sweet parents, found my wedding dress (!), visited both Savannah and Charleston, and we’ve eaten some really great food in the process! As soon as I get through the massive amounts of pictures I have from Ireland, the party, and our lowcountry trip, I’ll have lots of pretty things for y’all!

Today though, let’s talk about something a bit more practical. While we were gone, our basil got out of control! We have a row of basil in the same container as out tomatoes because we heard they get along just swell. It’s clear they are besties even if our poor tomatoes did get a case of early blight. Anyway, when we got back we also had a whole bundle of basil from our CSA so clearly it was pesto time!

How to Prune Basil from Kiwi and Peach

When we first started growing basil a few years ago, every time I pruned it for pesto I ended up killing it. Then, my strategy was to take a few leaves from each stem leaving enough for the plant to keep growing. Unfortunately I was having to take a lot, so that didn’t always work out. Eventually a friend showed me how to prune them correctly so that they could continue making new stems and my mind was blown. Talk about a light bulb moment!

So, dear friends, here’s the tip.

Cut the stem just above a set of opposite leaves.

How to Prune Basil from Kiwi and Peach

So simple! Another stem will pop up from the little nook there and make lots of new leaves.

We used our pesto (and some home-grown tomatoes from my grandmother’s garden) on a Roasted Tomato and Goat Cheese Grilled Pizza from our summer recipe collection for The Seasonal Supper. It tasted exactly like summer should!

What about you, friends? Do you have any gardening tips for this novice? What are you growing this year?

Bourbon Peach Chocolate Chunk Banana Bread

Tis the season for lots and lots of visiting. Hope y’all are following along with us on Instagram because while it might be a bit more quiet than usual over here, it’s certainly not quiet in real life! Ireland was absolutely stunning and deserves a post unto itself. We had some wonderful moments and surprisingly, some really delicious food! I have tons of pictures, tips, and food recommendations with y’all, but it’ll have to wait…

The Kiwi’s folks arrive tonight!

When we told them we were engaged, one of the first things his mum said was that she wanted to come for the engagement party. To be honest, we really, really wanted to have one, but seeing as how the whole point is for the families to get to know one another we didn’t see much point if they couldn’t be here. We were so excited they wanted to make the trip over to celebrate with us and to meet my family!

With all the folks in town this weekend, we have been cooking up a storm to make sure all of these bellies stay full and happy. One of my favorite things to make for breakfast when we have company is banana bread. To me, baked goods for breakfast is the ultimate treat and having some one make it especially for you is so my love language. When our guest room is a revolving door (which we love, btw), I love making up a few loaves to share.

Bourbon Peach Chocolate Chunk Banana Bread from Kiwi and Peach (via Joy the Baker)

Bourbon Peach Chocolate Chunk Banana Bread

My absolute favorite banana bread recipe is from Joy the Baker via Cup of Jo ages ago. It’s one of the few recipes I follow to the letter, and I’ve never had any reason to stray from her method or ingredients. It’s got almost everything you need in a banana bread; bananas, nuts,  chocolate chunks, and a splash of bourbon.

However, last time I made it, I started getting the itch. We had a spare peach on hand. Peach + bourbon = a winning combination, so I chopped that puppy up in 1/2 inch cubes (peel and all) and threw it in there when I folded in the chocolate and nuts. Just when I thought it couldn’t get any better… Oh my stars, y’all! I didn’t change a thing about the rest of the recipe, so it seems silly to rewrite it here because Joy did such a good job with the orig. Do me a favor though, make this, add peaches (while they’re in season), and wait for your belly (and your guests’ bellies) to be oh so happy!

{JAM} Mumford and Sons: The Cave

Happy Monday y’all! As we speak, I am making my way from Georgia with my mom and my 86 year old grandmother to the west coast of Ireland. Surprise!

After D’daddy’s passing earlier this year, Memommy (who knows where I came up with these names) boldly stated that she wanted to go to Ireland. She had applied for a passport while I was living in Germany, but was unable to come visit since she was consumed with D’daddy’s care as she had been for 10 years. While D’daddy’s passing was devastating, we look at things like this and are encouraged that she is starting to truly live life again. Obviously, my mom and I wanted to make this happen for her.

I am blown away by her adventuring spirit. To want to venture out of the country for the first time at 86 years old and desire to experience another culture…I hope I’m still half as spunky at 86.

We’ll be adventuring in the Irish countryside all week checking out the Cliffs of Moher, the Blarney Stone, the Dingle Peninsula, and the Ring of Kerry, so be sure you’re following us on Instagram to see more pretty than you can even handle. Of course, you could always just listen to Mumford and Sons and pretend you’re there with us.

What To Do with Dried Beans

There is a home video of my parents cooking dinner when I was about one. I was obviously doing something adorable while my mom was fixing dinner and my dad whipped out the massive 80’s video camera to document it. What he actually documented was the state of our family dinners at the time—a couple of LeanCuisines being heated up and dinner was ready at the beep. I can’t fault them. This stuff was billed as ‘healthy,’ and they were both working full time in demanding jobs. Dinner was an afterthought.

You see, I grew up in a canned bean kind of family. ‘Healthy’ convience foods were the name of the game, and if it couldn’t be made in 30 minutes, it wasn’t going in the rotation. I’m not saying it was all LeanCuisine (or God forbid Hamburger Helper), but there was definitely a reliance on pre-made seasoning packets and canned vegetables, beans, etc that I thought was completely normal and even ‘healthy.’

I’ll be the first to admit that there are much worse things out there in the world of processed food than canned beans, but when we started this journey of buying as close to nature as possible and making the stuff in our pantry as opposed to buying it, I learned a bit about this alternative to the can. I use the word alternative sarcastically because really, this is the way people have been doing it for thousands of years and how much of the world still prepares beans which are a staple in loads of traditional diets around the world. For the last few years we’ve mostly used the dried variety for all of our bean needs for a few reasons:

What To Do with Dried Beans from Kiwi and Peach

Dried beans are cheaper than their canned cousins by a significant amount and they last almost indefinitely. In Germany, I also found more variety of beans in the dried form which meant I could eat black eyed peas which made me a very happy southern woman.

By using dried beans we avoided the BPA in the plastic linings of some cans. BPA reacts in the body like a hormone and I don’t need anything else throwing that our of whack! BPA is actually banned in the EU in items for children and there has been an overwhelming push as of late for companies both here and abroad to make BPA-free cans because no one wants that gunk in their food. (Though most of us are screwed anyway because we’ve been eating it our whole lives. Wunderbar!)

You avoid the extra sodium and random seasonings that get stuck in the can with the beans. I always, always, always ended up rinsing my canned beans because I wanted to add my own seasoning. It was a pain and I was always irritated that I was probably paying more for the can because it had the seasonings in there.

But the biggest reason that we’ve stuck with using dried beans once we returned to the States is this…

Using dried beans isn’t hard. It’s actually pretty straight forward. They do require a little bit of forethought, but they’re really hands-off and they freeze beautifully. A little bit of work goes a really long way.

I also have a little trick that makes dried beans my go-to for weeknights. At the weekends, make a big batch and freeze it in 1½ cup sized portions. That way, on weeknights, you can pull them out of the freezer just like you would pull a can out of your pantry.

Are you convinced? Let’s pretend you are and let’s make some beans! There are two different ways I like to go about cooking beans and I’ll talk about them both. Here goes:

What To Do with Dried Beans from Kiwi and Peach

What To Do with Dried Beans

If your recipe calls for 1 can of beans you are going to want to use about ½ cup of dried beans. Dried beans will produce, on average, about 3 times the amount when cooked.

½ cup dried = 1½ cups cooked = a 15oz can of beans

The Quick Soak
This is the method I use most often because I usually forget to put them on to soak the night before.

Bring a stock pot full of water to a boil and then remove from the heat. Measure and rinse your beans then add them to the pot. Cover with a lid and let them soak for at least 2 hours.

After those 2 hours, drain off the water. Fill the stock pot with fresh water and salt it well. Bring the new water to a boil add the beans to the pot. Reduce the temperature to medium low and let them cook for about an hour to an hour and a half. Drain and you’re ready to go.

{The length of time depends on how firm you like your beans and how you will be cooking them later. If I’m going to be making chili, I usually only cook them for an hour. Burritos I’ll cook them a bit longer because I’m going to mash them to make refried beans.}

The Overnight Soak
First thing you want to do is grab a bowl that won’t stain. Measure and rinse your beans then add them to the bowl. Fill the bowl with a generous amount of water, cover with a tea towel and let it sit overnight.

When you’re ready to cook them the next day, bring a stock pot full of salted water to a boil, drain off the water the beans were soaking in and add the beans to the pot. Reduce the temperature to medium low and let them cook for about an hour to an hour and a half. Drain and you’re ready to go.


Happy Pancake Day!

Hello there. It’s been a minute, hasn’t it? First of all, I want to thank you all so much for the sweet comments about my D’daddy’s passing. As a wise friend said, “Grandfathers are simply wonderful things that shouldn’t be allowed to die at all.” I so agree, but unfortunately that isn’t how life works. I am incredibly thankful that I had so much time with him and so many happy memories. Thank you for your patience and for giving us time to reflect on them.

But on to happier topics… It’s Pancake Tuesday! I think we will be trying a variation of our favorite Whole Wheat Pumpkin Spice pancakes, but maybe with sweet potato instead of the pumpkin, and sorghum syrup instead of honey and I’ll replace the pumpkin pie spice with cardamom, ginger, and orange zest, and while we’re at it, top it with pear compote, so really not like our favorite pancakes at all.

What are you whipping up today?

Whole Wheat Pumpkin Spice Pancakes from Kiwi and Peach

Whole Wheat Pumpkin Spice Pancakes

{makes 6 pancakes}

the wet:
1 1/4 cup buttermilk
1 egg
1 Tbsp butter, melted

the dry:
1 1/4 cup whole wheat flour
1 Tbsp sugar
1/2 tsp salt
1/2 tsp baking powder
1/4 tsp baking soda

for the pumpkin mix:
1/2 cup pumpkin puree
1 Tbsp honey
1 tsp fresh diced ginger {or 1/2 tsp of the powdered ginger}
1 tsp cinnamon
1/2 tsp nutmeg
dash of allspice

Start heating up your griddle or, in my case, a pan on medium heat. {I actually use two pans because it makes it go so much quicker!}

In a large bowl, whisk together your wet ingredients. If you don’t have buttermilk on hand you can always mix 1 1/4 cup of milk with 1 tablespoon of lemon juice. It will get the job done.

Put a sieve over the bowl and measure your dry ingredients. Using a fork, mix the dry ingredients in the sieve and then give it a shake until all the dry has fallen through. Gently stir it all together. There might be some lumps but the key here is to not over mix it. The buttermilk and the baking powder are getting to know each other and we want to give that relationship some room to grow if we want perfectly fluffy pancakes.

In a separate bowl mix all of the pumpkin spice ingredients together then add it to the batter. Gently stir it in.

Now lets make some pancakes!

Drop a bit of canola oil in the hot pans, and using a 1/3 cup measuring cup pour in the batter. Let it cook for about 3-4 minutes or until it’s looking pretty solid then flip. I usually only cook it on the other side for 1-2 minutes, then transfer to a plate. For a bit of extra crunch and burst of flavor, sprinkle a bit of whatever homemade granola you have laying around on top of the pancake just after your pour the batter into the pan. It’s delicious!

Repeat until you’ve used up all of your batter.

Sprinkle some spiced pumpkin seeds over the top and serve with warm maple syrup! Enjoy y’all!

This recipe was originally published in a guest post I wrote for Charming Lucy. I’m reposting it here to provide some inspiration for Pancake Day!