
We’ve been in Asheville for six months now. Six. Months. Where has the time gone? Wasn’t I just in Germany like yesterday? Didn’t we just move in? Yes and no. These six months have flown and dragged both at the same time. I’m not going to lie, January and February were some pretty terrible months. Reverse culture shock was strong, we hadn’t made the friends we’d expected to, the job situation was bleak, and well, we were just homesick for a place that two years ago neither of us thought would ever be our home. As we emerged from winter though, opportunities sprouted, new friendships blossomed, and we began to explore these mountains and the new town we call ours. I’m not sure when the “I’m new here” wears off, but I can say, with more certainty than ever before, that we like it here and think we’ll hang around for a while. My favorite part of any move is to making the house we are in feel like a home that represents us. Though our current home is temporary, we have been so lucky to get to infuse as much of our personality as possible into the space. I’ll eventually move on to what we’ve done in other rooms, but I want to share one last project from the bedroom! So far we’ve shared how Zane made our bed and how I made a rustic piece of art for our wall. Today let’s chat about bedside tables. 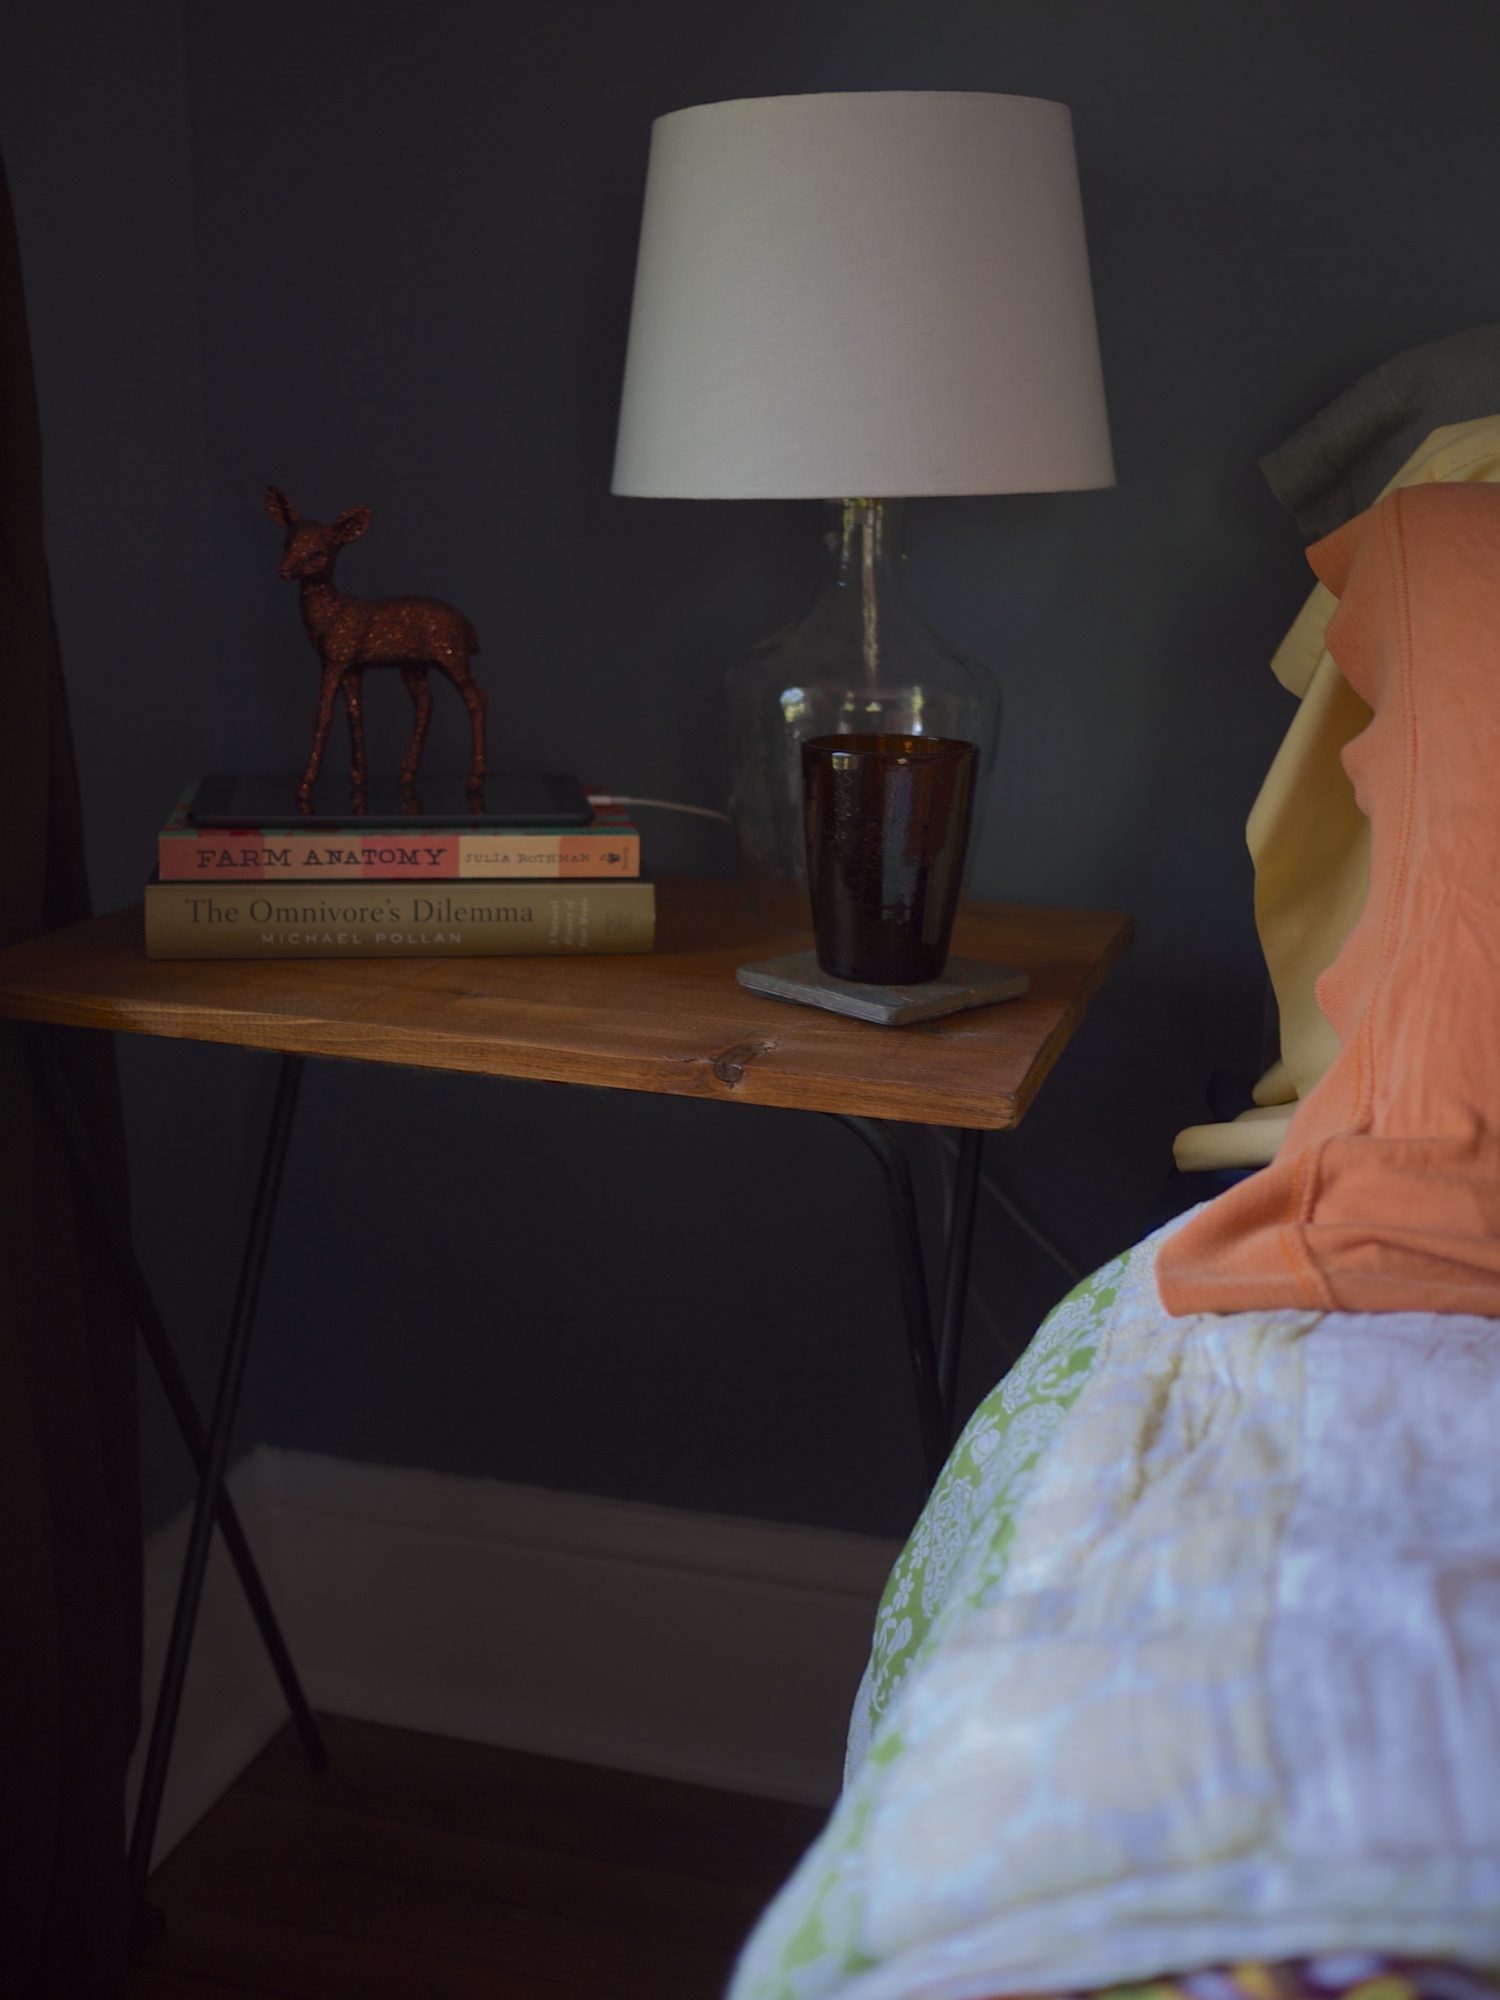 Our current bedroom is kind of small with awkward window placement. Our ginormous bed takes up most of the room, so we knew that we were going to have to think small for the bedside table. Small in size and in cost. Our budget for this was low, low, low so we had to get a little creative. In the end, it cost us nothing because we used stuff found in my parents basement and leftovers from the bed. However, even if you had to go buy some of the materials, we’re talking less than 30 bucks here! All measurements are based on the size of our base and the height of our bed. I’m pretty sure both are pretty standard, but if your bed is super high or super low fret not. Just figure out the height you need and then adjust the measurements from there. Our table measures 20 inches long, 14.5 inches wide, and 24 inches high.
  Here’s what you’ll need:
- an old TV tray stand
- 1 yard of wide upholstery ribbon
- needle and matching thread
- offcuts from a 1×8
- offcuts from a 1×2
- 8 screws
- sandpaper
- stain (We used the same soy based oil stain as the bed, Varathane in Provincial)
- sealer (We love the Tried and True Wood Finish made from linseed oil and beeswax)
Cut List:
- from the 1×8 — 20 inch piece × 2
- from the 1×2 — 10.5 inch piece × 2
- upholstery ribbon — 25.5 inch piece
Get started by prepping your wood. Sand it well, stain it, and seal it. Allow plenty of time for it to dry and cure between stages. My tip for creating cohesive design when it comes to using lots of wood pieces in your home is to find a stain you love and roll with it. A note about the stain and finish—a little bit of product goes a long way. We absolutely love these products and have used them on a number of projects around the house like the bed, these tables, a bookcases and a set of shelves. In all of that, we’ve used just over a quart of stain and maybe half a pint of the sealer. Once the wood is finished we can put the pieces together. Place the 1×8s next to each other so that their long edges are touching. Center the 1×2s on the seam. It’s important that the 1×2s fit down in the frame so be sure that they aren’t too far apart. Ours are about 7 inches apart which leaves about 3.5 inches on either side. When you’re happy with the placement, screw them in place.

 Our TV tray stand was super old and there was nothing to keep it from collapsing when we put the top on it, so we used the upholstery ribbon to keep it at the height we wanted (about 2 ft). Measure and cut your upholstery ribbon then wrap it around the top of the frame overlapping the ends. Using a needle and matching thread, hand sew the overlapping pieces together to make a loop. This will be on the bottom so just do the best you can! Adjust the ribbon so the seam is on the bottom and then sew the two layers of ribbon together on either side of the frame to anchor it. Slide the ribbon to the middle of the frame.
  (In the picture you’ll see that I did two of these. Honestly, its structurally unnecessary to have two and I know that no one sees the bottom, but I liked the aesthetic more and I had the extra ribbon so I went with it because I’m crazy like that. One is sufficient.) Sit the top on the base. They should fit snuggly into one another. Turn it right side up and you’re finished!

Good work very impressive carpentry x Willy