
Last summer the Kiwi and I took a trip to Amsterdam, and while we were there, we got some of the tastiest blue cheese in the world. Since the cheese was special {tastiest in the world I tell you}, I didn’t want to use it on just an average meal. I wanted whatever we were going to make with it to be excellent in its own right, but, at the same time, complement the blue cheese perfectly. And that, my friends, is how the idea for this salad was born. The dressing is the Kiwi’s brain child via a Gordon Ramsey TV show he saw once. He originally made it for me as a syrup for my birthday pancakes, so calling it a dressing is a bit generous, but you won’t be disappointed. The amounts of powder sugar and balsamic vinegar here are just guidelines. Feel free to be a bit liberal, it will reduce and thicken either way.
Are you like this too with special ingredients {or any product for that matter}? Do you ration it and only use it on special occasions? I ration pecans too because we can’t find them here in Germany. We got two bags when we were in Ireland this past fall, but we are down to our last few nuts now. Sad day.
Anyway…
Last month, the Kiwi had a 6 hour layover in Amsterdam on his way back from a business trip. Instead of sitting around at the airport, he decided to head into the city and go in search of more of that blue cheese. Luckily he found it, so naturally the first thing I made with it was this beauty. {Obviously, we’ve made this with blue cheese from the shop and its great too. I’m just telling you about the Dutch blue cheese because its out of this world and if you’re ever there you should get some.}
This would be a great addition to any summer cookout. It’s really simple to whip up and I promise people will rave! {Plus you’ll get props for bringing a salad! You healthy thing you–just don’t mention all the sugar in the dressing.}
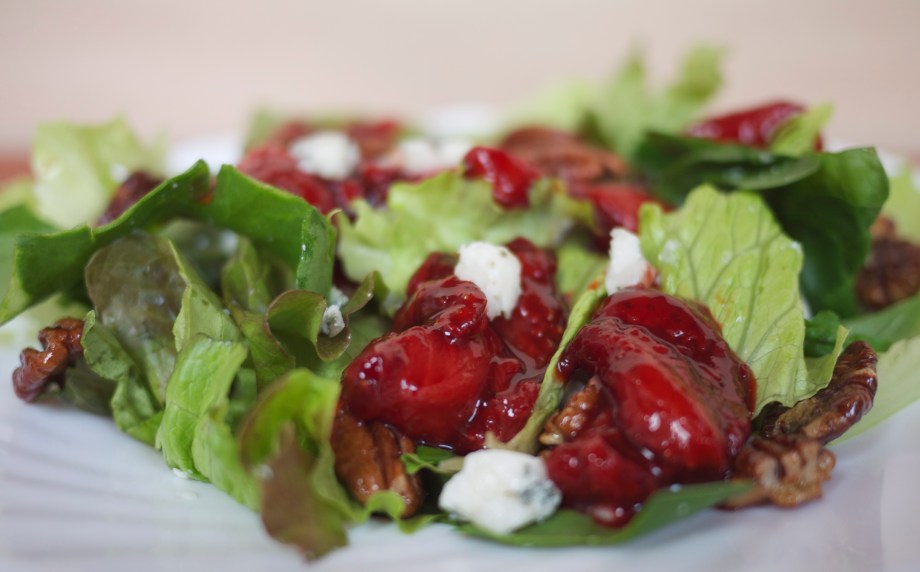
Strawberry Red, White, and Blue Cheese Salad
The Salad
mixed field greens {I usually use a whole 500 gram bag, but it depends on how much you like rabbit food.}
1/2 cup blue cheese, crumbled
1/2 cup chopped pecans
The Dressing
1 pound of strawberries {3 1/2 cups}
2 Tbsp maple syrup
2 Tbsp balsamic vinegar
Before getting started, wash and dry your greens and return them to the fridge. This will make them nice and crisp.
Start heating your frying pan over medium high heat. Wash, core, and cut your strawberries into fourths. Throw them in the hot pan and add the maple syrup. Stir it in and then add the balsamic vinegar. Give it a stir and then let it simmer away for about 3-5 minutes or until it is thickened a bit and the strawberries are soft but not completely broken down. At this point I transfer it back to the bowl and put it in the fridge to chill a bit so that it doesn’t wilt the lettuce too much.
While the strawberries are cooling down, you can assemble the rest of the salad. Plate up your lettuce and generously sprinkle with the blue cheese crumbles and chopped pecans. Top with strawberries and eat up!


